Creating a Dinosaur Museum with a local Pre-K class

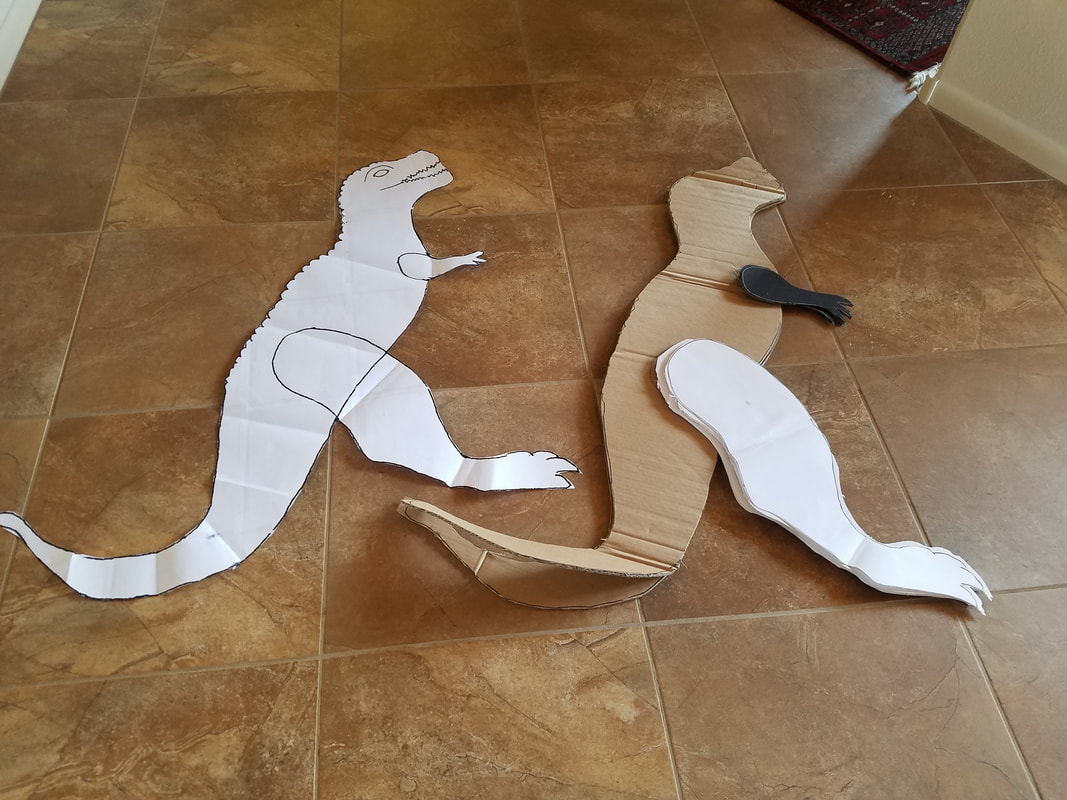
The armatureThe dino armature is cut from cardboard and styrofoam inserts are glued to attach legs.
|
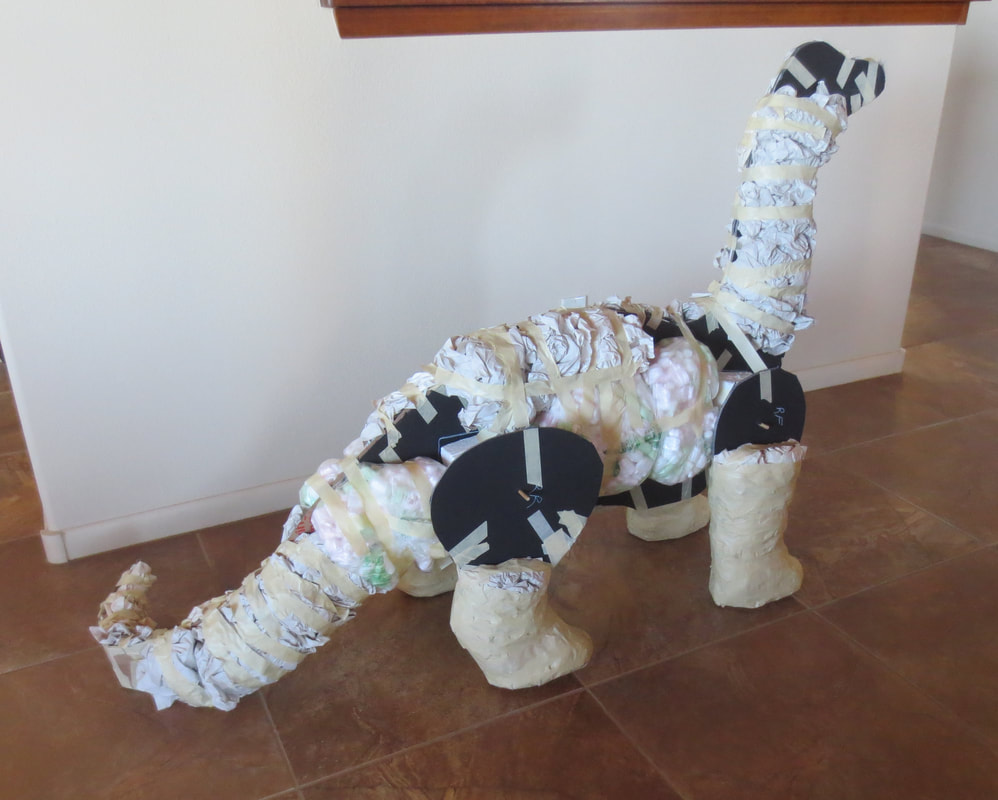
ShapingThe children helped pad the armature with newsprint, packing peanuts and other recyclables.
|
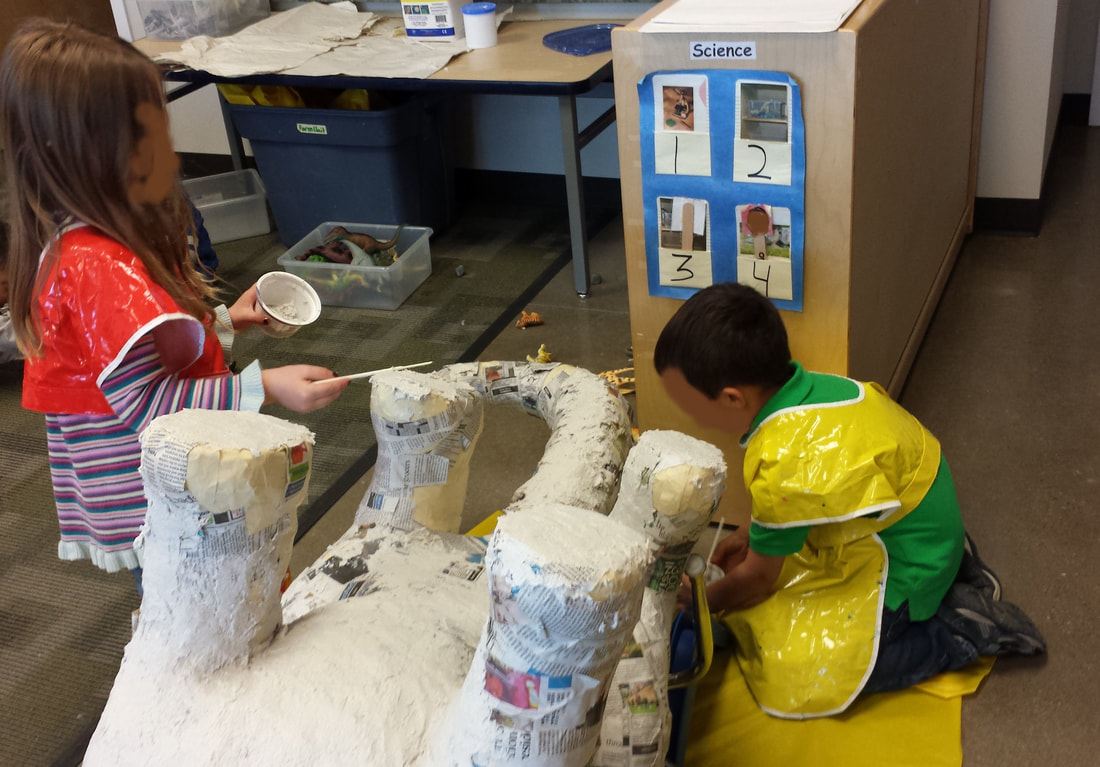
Applying Paper Mache ClayThe children applied several layers of paper mache strips, let dry, then applied a layer of paper mache clay.
|
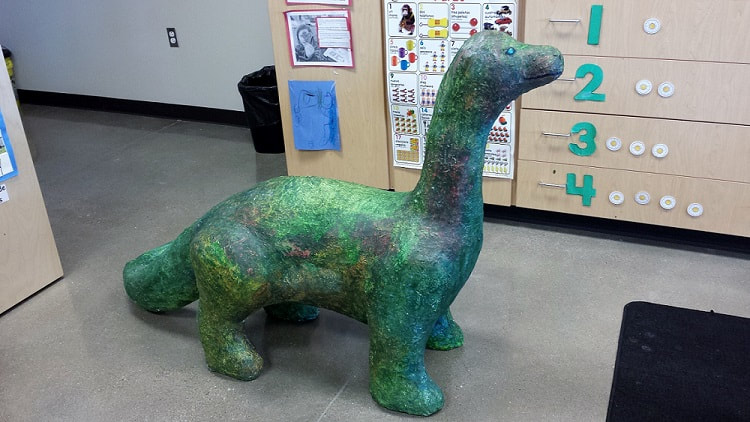
The children painted the dinosaur with their choice of color, red, blue, yellow.....and a final wash of green was painted over their rainbow of colors for the final visual effect. This dinosaur was created in 2015

In 2017 I made a pterodactyl with the children.
We followed the same process of armature, padding and shaping, applying paper mache strips of newsprint and a coat of paper mache clay. The children were again, free to paint the figure with a color of choice and a final wash of a deep green.
2018 PreK Class Dinosaur Project
The children made T-Rex this year. One of the challenges was keeping T-Rex upright. This was overcome by using his tail to create a tripod stance with his feet. We followed the usual process for construction, padding, traditional paper mache strips, paper mache clay, painting and sealing. The dinosaur teeth were made by the children from quick dry clay and toothpick posts. Once dried, small holes were drilled in the mouth and the "implants" with toothpick posts were positioned and hot glued into place. The clear hot glue ended up looking like a gum line.